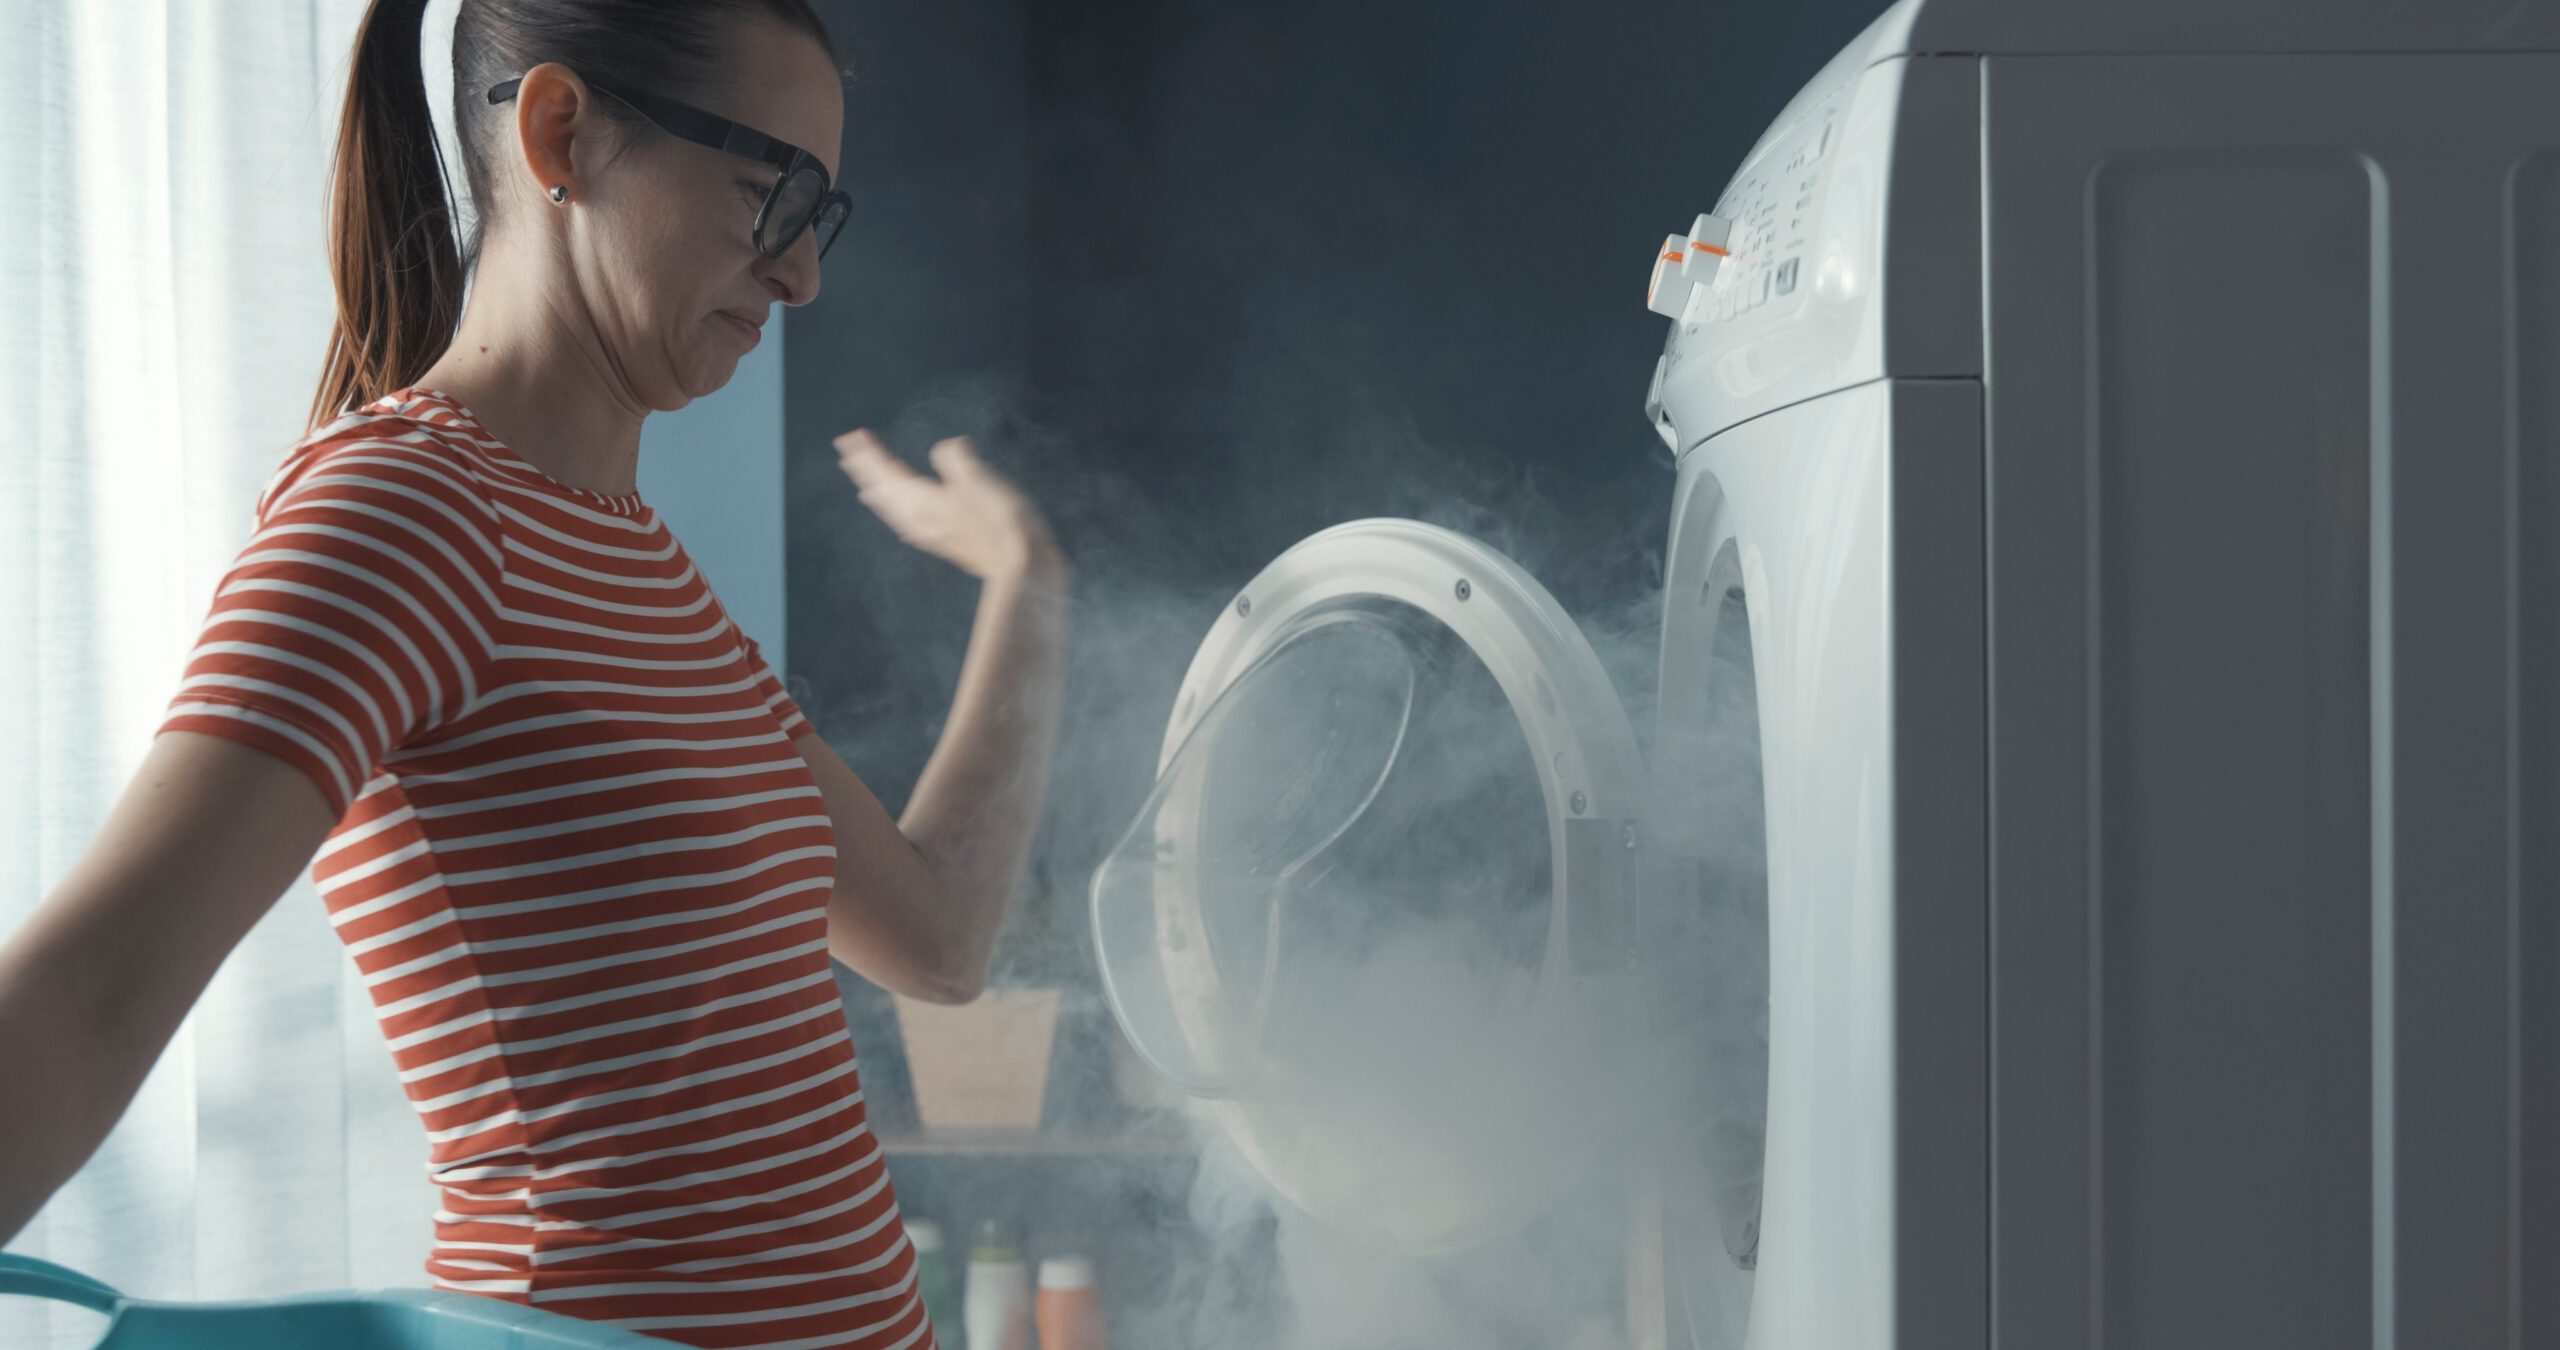
3 Troubleshooting Tips and When to Call a Professional
Here’s a guide to understanding why your dryer might be staining your clothes, how to fix it, and when to call a professional.
1. Cause: Faulty Drum Glide Bearings
Gliders, nylon or plastic protective shields located along the outer edge of the drum, serve as a buffer between the rotating drum and the metal cabinet to prevent friction. The drum glide bearings allow the dryer drum to turn smoothly. When these gliders wear out, the drum may scrape against parts of the casing, causing black residue to transfer onto your clothes.
Troubleshooting: Listen to your dryer while it’s running. If you hear a scraping sound, the drum glide bearings will likely need replacing.
2. Cause: Foreign Substances in the Drum
If you accidentally leave items like pens or markers in your pockets, they might break or melt in the dryer and leave streaks on your clothes. The same goes for certain types of fabric softeners and detergents that might stain clothes if not properly used.
Troubleshooting: Always check the pockets of your clothing before washing and drying. Additionally, make sure you’re using the right amount of fabric softener or detergent and that it’s suitable for your type of dryer.
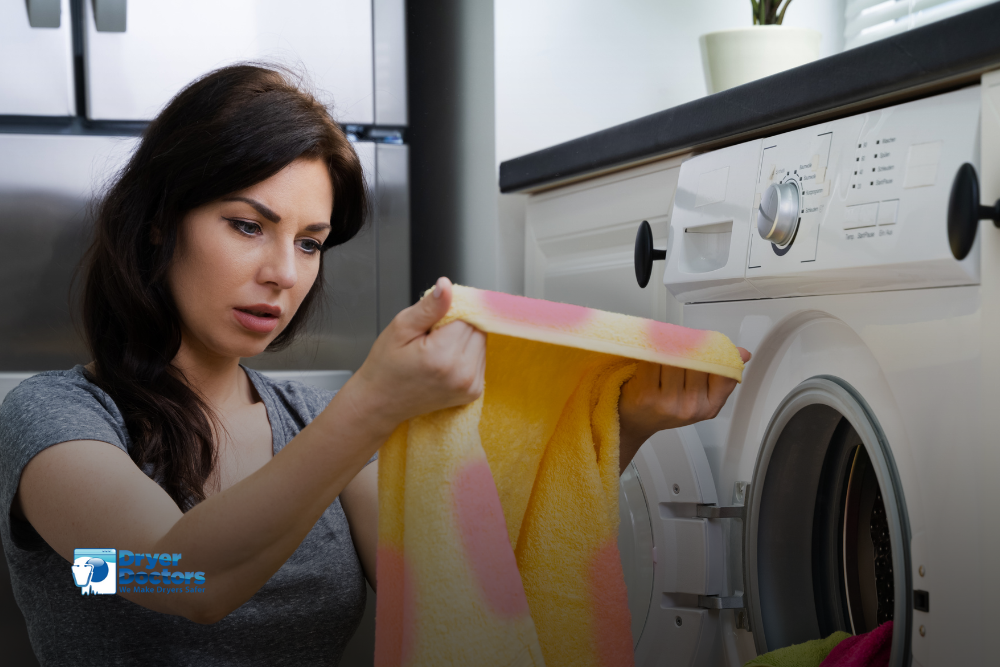
3. Cause: Worn-out Drum Seals
The black marks could be due to worn-out or damaged drum seals. These seals prevent clothes from getting stuck between the drum and the dryer casing. When they wear out, your clothes can slip into the gap and get pinched, which results in black marks or even tears on your clothing.
Troubleshooting: Inspect the drum seals visually. They are typically found at the front and back of the dryer drum. If you see signs of wear, discoloration, or damage, it might be time for a replacement.
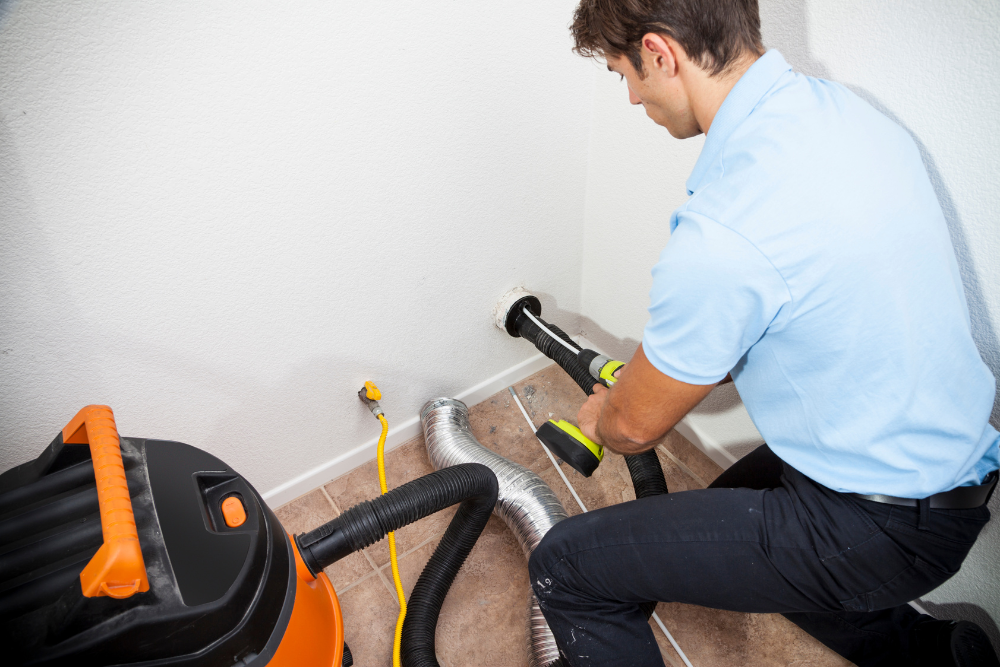
Inspecting your Dryer’s Drum Seals
Inspecting your dryer’s drum seals involves a bit of work as they are typically located at the back and front of the dryer drum, inside the appliance. Here’s how to check them:
- Unplug the Dryer: Always prioritize safety when dealing with electrical appliances. Ensure the dryer is unplugged from the power source before starting any inspection.
- Remove the Top and Front Panels: You’ll need to consult your dryer’s user manual to understand the specific steps for this, as the process can vary between different models and manufacturers. Generally, you’ll need a screwdriver to remove the screws holding the top and front panels in place. Once these panels are removed, you should have access to the dryer drum.
- Inspect the Drum Seals: The drum seals are usually found along the edges of the drum – one at the front and another at the back. They should appear like a cushion or a gasket circling around the drum. Check for signs of wear, tear, or discoloration.
When to Call a Professional
If you’ve checked all the boxes above and still don’t know why your dryer is leaving black marks on clothes, and you believe the issue lies with the drum seals or glide bearings, it might be time to contact Dryer Doctors. While you can replace these parts yourself, it requires technical knowledge and the right tools. Our professional dryer repair technicians have the expertise to accurately identify the issue and replace faulty parts without causing further damage to your appliance.
Remember, when in doubt, don’t hesitate to call! It’s better to invest in a repair than risk damaging your clothes or, worse, having to replace your entire appliance.